Thursday, October 15, 2015

Copycat Red Lobster Cheddar Bay Biscuits

I'm trying to like seafood. So far I can say I like shellfish and that's about it. And by shellfish I really mean crab, shrimp, and lobster. In an attempt to familiarize me with seafood, Husband and I went to Red Lobster back in spring. That was when I tried their famous cheddar bay biscuits. Now that I think about it, I don't remember them being amazing, but they were pretty tasty. Anywho, that leads us to tonight when I decided to try this copycat recipe on somewhat of a whim.

I cut the recipe in half because there's only two of us, and I forgot to buy more cheese when I went grocery shopping earlier today. The recipe really is quite simple-mix your dry ingredients, add the wet, and then gently fold in the cheese.


Then you plop them onto a baking sheet and bake. I don't have parchment paper or a silpat, so I just sprayed my sheet with Pam and they came off just fine. I probably should have shaped them a little more just to look prettier, but oh well.


After they bake, you brush them with a "topping" that really is just garlic herb butter. I didn't have fresh parsley, so I used dried. I know I've mentioned my dislike of garlic before, but really I'm okay with it in small amounts. And I'll never buy a bulb of fresh garlic because I know I'll never use it before it goes bad, so garlic powder is what I use. End tangent. Anyway, they looked like this after baking for 10 minutes and being brushed with the butter:


To me they taste simply okay. It's almost like they're missing something, but I'm not sure what. Husband said they seemed fine to him, but I'm not going for fine! I'm trying to fill my recipe binder with only the best! So honestly I don't know if I'll keep this recipe. They were really easy and fast, and might actually be quite close to the original Red Lobster biscuits. But it's been so long since we were there that I can't accurately remember what they tasted like. So I'm giving this one 2 stars.

Friday, October 9, 2015

DIY Frozen Pizzas

I like to try to keep a frozen pizza in our freezer for those nights when we're both feeling lazy. But after seeing this post on how to freeze your homemade pizzas, I knew I wanted to give it a try. I tried a different pizza dough recipe, hoping to avoid the super sticky dough situation I had last time I made pizza. It was a success, ladies and gents! Here's the keys: water temperature and kneading the dough just for a few moments after it rises. That little bit of kneading I did after the dough rose really made a difference. I was able to shape it into a somewhat normal shape and not have it stick like crazy to everything.


The trick (according to the original poster) is to par bake your pizza crust. It says to bake your crust for 3-5 minutes, so I baked them for 4.

The crusts need to cool completely before you top them. My second crust didn't come out as pretty. It cracked a bit as I was trying to get it off the pizza stone. Go figure. After the crusts have cooled, you can top them however you'd like.

I decided to make a taco pizza
(salsa, shredded chicken, and cheese)

and the good old standby of pepperoni.
(marinara because it's better than jarred pizza sauce, cheese, and pepperoni. And my cherry Coke because it's important to stay caffeinated hydrated.)

One they're topped, the pizzas need to go into the freezer on a baking sheet for about 3 hours until they're frozen. After they're frozen you can wrap them up, label them, and put them in the freezer to bake whenever you'd like! This was quite easy, and very likely something I'll do again. I'd say this is a 4 star idea, and I don't see why these won't bake up beautifully when we decide to have one for dinner.

Thursday, October 1, 2015

Banana Pancakes

*cue the Jack Johnson song, which I totally listened to while making these*

Breakfast for dinner, or brinner, is a glorious thing. And I'm sad to say it's something I haven't done for quite a while. I kind of forgot about it. So, these were the perfect excuse to bring it back!

I've never made pancakes from scratch, but it was really easy. Mix up your dry ingredients...
and your wet ingredients.

Then, you guessed it! Everybody goes in the pool together.

Now here comes the tricky part-actually cooking said pancakes. First, we don't have a griddle so I used a pan. Which is why they're called pancakes!! Ha! Anywho...second, I forgot I'm kind of terrible at flipping pancakes. I don't know why, it's just something I struggle with. So after making a few really ugly pancakes, I finally got the rhythm down a bit better. Part of my problem was my pan was too hot, so they started to cook too quickly. For some reason though, they kept folding as I would lift them for flipping. I have no idea why that was happening, but because of this they didn't turn out as pretty as I had hoped.


I'm starting to think food bloggers all secretly take food photography classes because my recipes almost never come out looking like theirs. Which is all fine and dandy, but who doesn't like pretty food that also happens to taste good?? As far as taste though, these were pretty good. They weren't overly sweet, which I was a bit worried about. They're not amazing, but they're a good quick shake up from regular pancakes. 3 stars from me and Husband.

Thursday, September 24, 2015

Copycat Pizza Factory Breadsticks

Anyone who has ever been to Pizza Factory knows about their amazing twisty breadsticks. They're pretty much the main reason I'll go there. And since I was feeling lazy about dinner and decided to just bake a frozen pizza, I figured it'd be a good time to give these a try and make things feel a little more special.

I mixed up the dough in my stand mixer and it was super sticky. So I followed the advice on her blog and added a tablespoon of flour. Still sticky. Added another tablespoon. Still sticky. Figured maybe the dough would get less sticky after it had time to rise.

It did not. This dough is a pain and a half to work with, folks. It didn't matter how much I floured my hands and counter, this dough stuck to everything. I was almost ready to give up on this project because of how frustrated I was. But, I persevered for the sake of this blog and rolled the dough into snakes that were too long. :P
(You can see it sticking to my counter in the closest piece. I also halved the recipe since there's only two of us.)

I probably should have just called them good as is and not bothered to try to twist them onto skewers. But I didn't.
As you can see, they got quite thick at the bottom because of the extra length. This picture doesn't show it entirely (thank goodness) but trust me when I say they were not the beauties you receive at the restaurant.

After I let them rise again, they looked even worse. So I decided to abandon the hanging them idea and just lay the breadsticks in my pan and let them have a flat edge instead of being round on all sides.
Don't they look....like...something?

Coming out of the oven, they didn't look quite as bad, but still not what I had originally hoped for.

I don't have a cute little bucket or anything to put them in, so you'll have to settle for my hand (with acrylic nails that are currently a bit too long for my liking) holding one.

Now here's my dilemma. They're sooo good! I don't know if I'd say they're exactly like Pizza Factory's (I don't think theirs have rosemary) but they're really tasty. But the dough is SUCH a pain!! Sigh...I just don't know. If I was judging only on taste, it'd be an easy 4 stars. Husband really likes them too. But I do have to dock points because of how annoying this dough was to work with. So overall, I guess I'll say 3 stars.

Thursday, September 17, 2015

Cheesy Pepper Jack Potato Chowder

The weather here this week has been glorious. Cool and rainy all week. Love it. I love fall. So, with this lovely fall type weather, I decided it would be the perfect time to try a soup recipe. (Unfortunately, it's supposed to heat up again next week. Boo....) When I told Husband what was for dinner tonight, he said, "So basically, potato soup." Sigh...

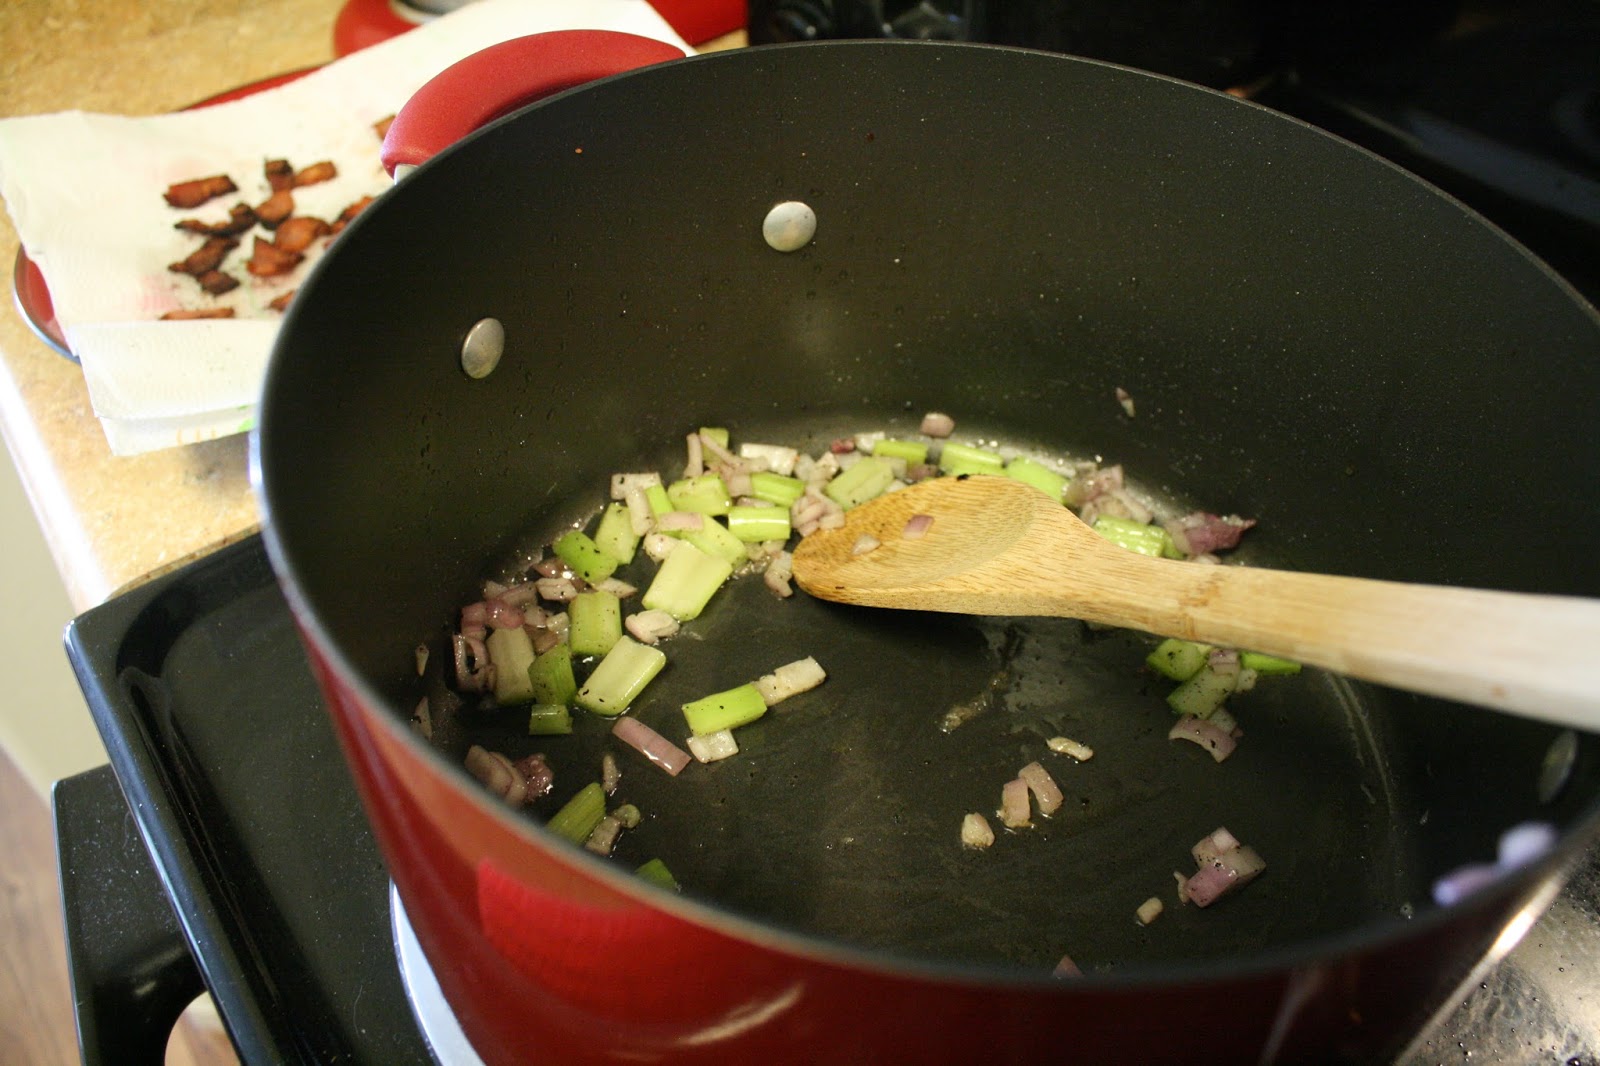
Anyway, this recipe starts out with bacon. Always a good place to start. The key here though, is to not get distracted dicing your celery and shallot so that you burn the bacon like I did. So I salvaged what I could, but it wasn't much.

After smacking yourself for burning the bacon, continue on with the recipe and cook your celery and shallot. Yes, I know the recipe calls for 2 cloves of garlic. I'll go on record here now and say I do not like garlic. Nope. At least, when I can notice it in a dish. So I didn't add them. It wouldn't make much sense for me to buy a bulb of fresh garlic, as I know I would not use it. So I sprinkled in a bit of garlic powder to make up for it.

After your veggies have softened, add the rest of the ingredients-except the cheese. This really is a fast soup. Bonus!

Once the soup has thickened, go ahead and add the cheese slowly so it can melt.

After the cheese is all melted, you're good to go. Unfortunately, I couldn't make my pictures of the soup look as pretty as the ones from the original blogger.

Regardless of how not pretty it looked, it was really good! I'm excited to try this recipe again and not burn the bacon. :P I'd give the recipe 3 stars, with potential to easily make it up to 4 when tried again with correctly cooked bacon. Husband says the same.

Wednesday, September 9, 2015

Taco Pizza

This recipe borrows from a couple different places. For the dough, I used Pioneer Woman's recipe. Pretty straightforward, although I didn't have active dry yeast. I had instant. And according to King Arthur flour, they can be used interchangeably. So guess what I did!! I made the dough yesterday, as per her suggestion that it will taste better if made at least 24 hours in advance.

Most recipes I found for taco pizza used ground beef, but I stumbled upon one using chicken. I liked this idea better, so that's what I did! Cooking the chicken was easy enough. I cooked two breasts instead of one, as it's impossible to find just one chicken breast unless you have a big package of frozen ones...which I don't.

After the chicken was ready to go, I spread out the dough on a cookie sheet. Side note here, I'd forgotten how much of a pain it can be to try to spread pizza dough. The dough was sticky and had a tendency to tear, but the store bought doughs I've used have been that way too. Such is pizza dough, I suppose.

The cheese mixture I used was my own random concoction of a bit of leftover mozzarella, Monterey jack, and a bit of cheddar. I didn't measure any of these, just eyeballed what looked good. I'm a rebel that way. ;)

I decided to put the chicken underneath the cheese, but it can go on top if that's how you'd prefer to roll with your pizza. The idea to use salsa instead of pizza sauce came from the same place I got the chicken recipe from. This really made a difference!
(I actually really like this picture. Have you noticed I broke out my fancy camera instead of just using my phone for this post?)

I baked the pizza according to the directions from PW's dough recipe. It says to bake 12-15 minutes, I baked for 12 to be safe.

Oh my gravy, folks. This was good! The crust was crispy, yet soft. And using salsa for the sauce added a little kick that really made this different. Next time though, I may bake it a bit longer to make the crust a bit firmer towards the middle of the pizza. 4 stars from me and Husband, we'll definitely do this again.

Thursday, September 3, 2015

Spreads

*I never said I'd only post dinner recipes on this blog. Mostly dinner yes, because I'm trying to learn to cook. But sometimes I like to try new sweet recipes too.*

Sometimes I watch the Food Network. Actually, I watch the Food Network a lot. It's how I know a fair amount about foods I've never tried. Anyway, Pioneer Woman made these on her show yesterday. Ya know, sometimes I can't watch her because she's just so darn perky. But she does make good food. She calls them spreads, I'd probably call them cookie bars. But. They're super easy and you likely have all the ingredients in your pantry already.

Mix brown sugar and margarine.

Add an egg.
Am I the only one who thinks cookie dough looks weird after you add an egg but before you add the dry ingredients? Just me? Okay.

Add flour, salt, and vanilla.

Spread the dough on a cookie sheet as best you can. The dough is kind of sticky.
Note my peanut butter and chocolate chips and M&M's in the background. Those will be used soon.

Bake! The recipe says 15-20 minutes, I did 15 because I do not like crunchy cookies. Cookies need to be soft. End story.

So the recipe says to add 6 ounces (I think) weight of chocolate chips. I'm not going to weigh my dang chocolate chips, just eyeball it, folks. And I used the peanut butter and chocolate mix why? Because I can! And peanut butter and chocolate belong together.

Stick the spreads back in the oven for a minute so the chips will get melty then spread them all over.

Now she stops here with the recipe, but I didn't. I sprinkled some M&M's on top. Again, why? Because I can!

I thought I was going to wait until they'd cooled to taste them, but my self control isn't that good. And they're really good. I think these would be great for those days when your child reminds you at 9pm that he told his class he'd bring treats to school the next day. The recipe can easily be doubled or tripled, and you can add whatever toppings you want. 4 stars, this one will stay in my recipe arsenal.