Guys. I was super excited about this
recipe. It instantly sounded good when I first saw it. The recipe is from the same blog I got the chipotle pulled pork recipe from, so I figured it had to be good. She has great Mexican recipes. Yikes...I need to stop saying recipe.
Anyway, I started off by getting all my prep work done to make life easier for myself when I started cooking.
I was very careful to make the jalapeño very well minced. I don't know about you, but I don't want to bite into a big chunk of jalapeño. Maybe I didn't need to be so careful, as I'll explain in a bit.
I cooked my chicken in my cast iron skillet because I'm dumb and thought cast iron is non-stick. It is not. The chicken did stick a bit, but it wasn't too bad. More just annoying than anything else.
Honestly I probably could have just used a rotisserie chicken and been just fine, but I wanted to give it a go. Next time I might do that just to save myself a little time. It's not a difficult method of cooking chicken though, and it turned out really moist.
Making the sauce was pretty simple.
Melt butter and olive oil. One thing different here-I didn't have any unsalted butter, so I just used salted and left the salt out of the spice mix to make up for it.
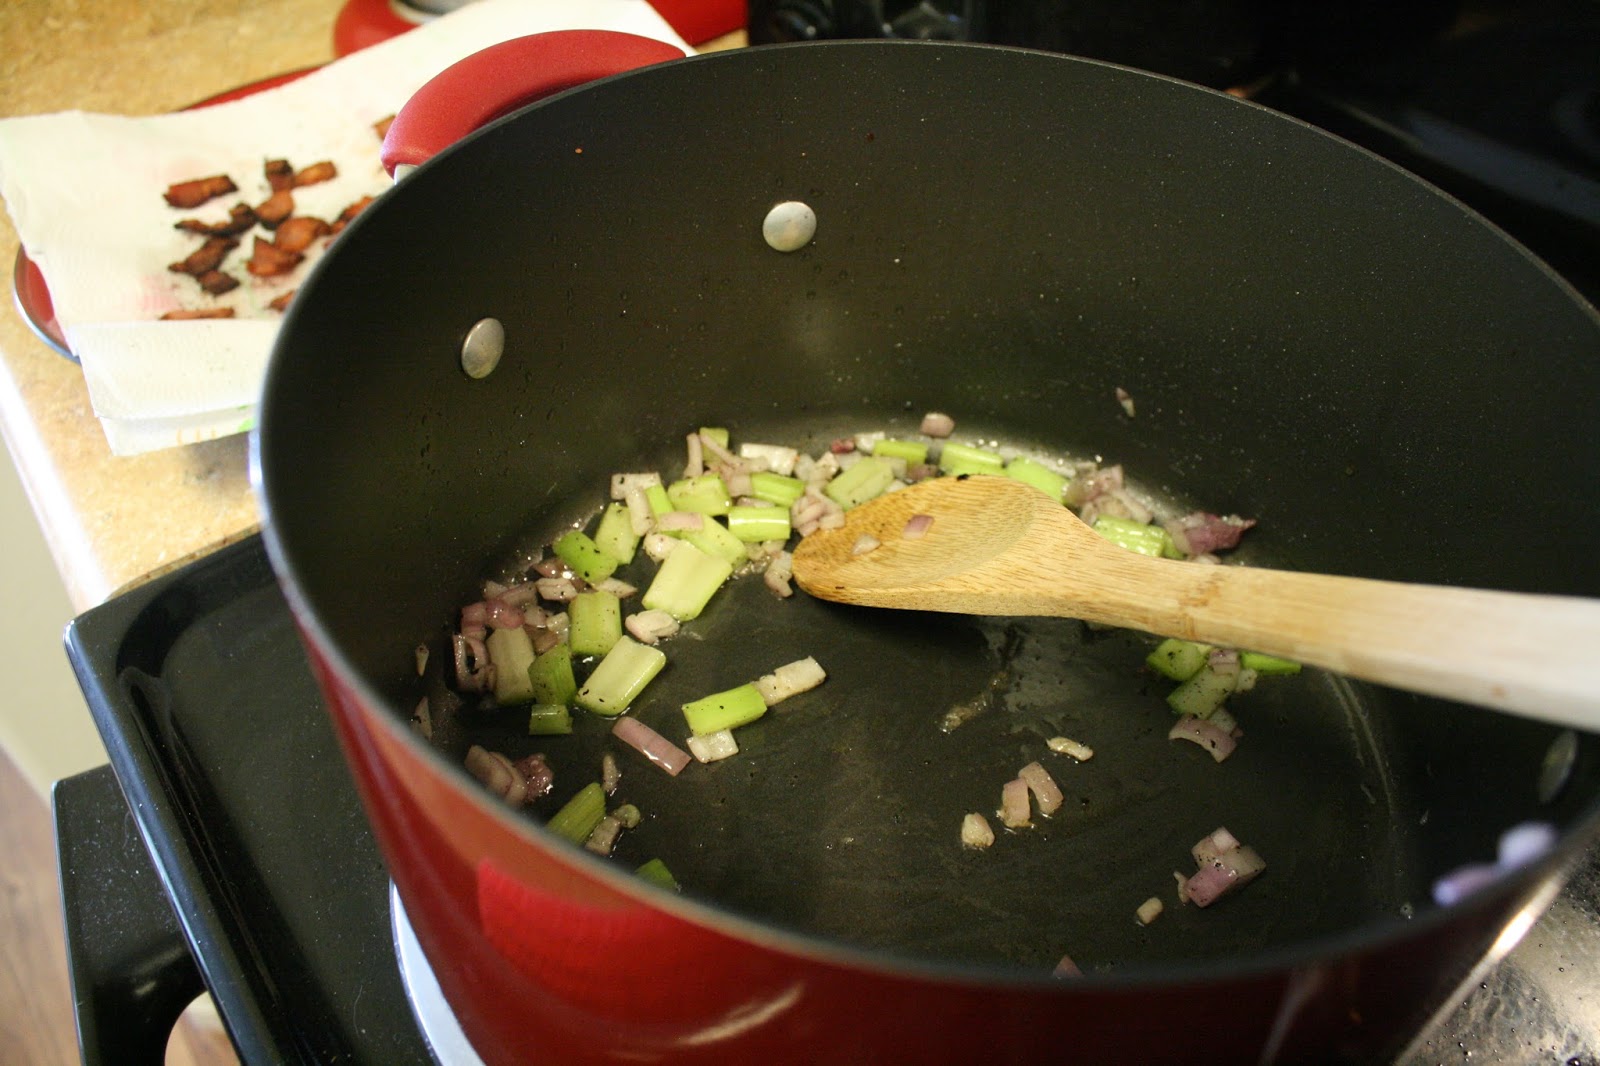
Add the jalapeños and cook for just a few minutes.
Add flour and cook for a few more minutes. During this process, my jalapeños started to turn brown. And it freaked me out a bit as I wasn't sure if that was supposed to happen or not. They didn't smell like they were burning, but still. This is why I said maybe I didn't need to be so worried about mincing them as finely.
I took this picture while I was whisking in the chicken broth and spices (minus the cayenne pepper. I didn't have any, I wanted to see how spicy this would be without it.) Apologies for the weird blurriness. You can see how dark my jalapeños turned and why I was concerned.
Here's the sauce after adding the lime juice and sour cream. And my dirty burner. Yuck, sorry about that...
I opted out of using the optional vegetables she mentions for the filling just because I wanted to keep it simple for the first try. I didn't, however, increase the chicken like I was supposed to in that case. Oops.
At this point Husband came in and tried some of the chicken and said "Ooh! You could put that on a sandwich and I'd eat it!" Good sign! So that made me feel better about the dark peppers.
Time to get rolling!!
After they bake, you get this loveliness:
Hello, pretties. Don't you look delicious today...and taste delicious too! These are really good. 4 stars from both Husband and me. I don't know if I'd say they're better than the chicken enchiladas I've posted about earlier, but they're different. So let's call them a nice twist. The recipe is a bit more involved since you're making your own sauce, but man is that sauce yummy. Next time I may strain the jalapeño pieces out after it's all cooked, just because they seemed a bit funny to me, but Husband didn't seem to notice. Either way, this recipe is a keeper!! Oops, I said recipe again....